
How to Configure Intune Pre-Provisioned Autopilot: The Complete Guide
Windows Autopilot Pre-Provisioning (formerly known as White Glove) represents a significant evolution in enterprise device deployment strategies. While User-Driven Autopilot allows end users to set up their devices independently, Pre-Provisioned Autopilot takes a hybrid approach that combines the efficiency of traditional imaging with the cloud-native benefits of modern management.
What is Pre-Provisioned Autopilot?
Pre-Provisioned Autopilot enables IT departments or OEM partners to pre-configure devices before they reach end users. During this technician phase, the device downloads and installs applications, policies, and certificates—essentially completing the heavy lifting of device provisioning. When the device reaches the end user, they experience a fast, streamlined setup that only requires authentication and final personalization.
Key Differences Between User-Driven and Pre-Provisioned Autopilot
User-Driven Autopilot:
- End user unboxes and sets up the device entirely on their own
- All applications and policies install during the user’s first login
- User experiences the full provisioning time (potentially 30-60 minutes)
- Best for remote workers or distributed environments
- No IT touchpoint required
Pre-Provisioned Autopilot:
- IT technician or OEM partner performs initial provisioning
- Device and user-context applications install during technician phase
- End user experiences significantly reduced setup time (typically 5-10 minutes)
- Ideal for corporate offices, refresh scenarios, or when users need devices immediately
- Requires initial IT involvement but improves user experience
When to Use Pre-Provisioned Autopilot
Consider Pre-Provisioned Autopilot in these scenarios:
- New employee onboarding: Ensure devices are ready on day one
- Device refresh projects: Pre-configure devices before distributing to users
- Executive or VIP deployments: Minimize any potential setup issues
- Large deployments: Stage devices centrally before distribution
- Complex application sets: Pre-install large applications during the technician phase
Important Update for Windows 11 24H2 and Later
Microsoft has streamlined the Pre-Provisioned Autopilot experience in Windows 11 version 24H2 (and later versions like 25H2). Previously, technicians needed to manually reseal the device using sysprep after the provisioning phase. This step has been eliminated—devices now automatically restart after technician provisioning completes, transitioning directly to a ready-for-user state. This change significantly simplifies the process and reduces potential errors.
Now, let’s walk through the complete configuration process step by step.
Prerequisites
Before beginning, ensure you have:
- Devices registered in Windows Autopilot (hardware hashes uploaded to Intune)
- Appropriate licenses (Microsoft Intune, Entra ID Premium)
- Global Administrator or Intune Administrator permissions
- Network connectivity for devices during provisioning
- Entra ID security groups created for targeting
Step 1: Create a Windows Autopilot Deployment Profile
The deployment profile defines the out-of-box experience (OOBE) settings for your Pre-Provisioned Autopilot devices.
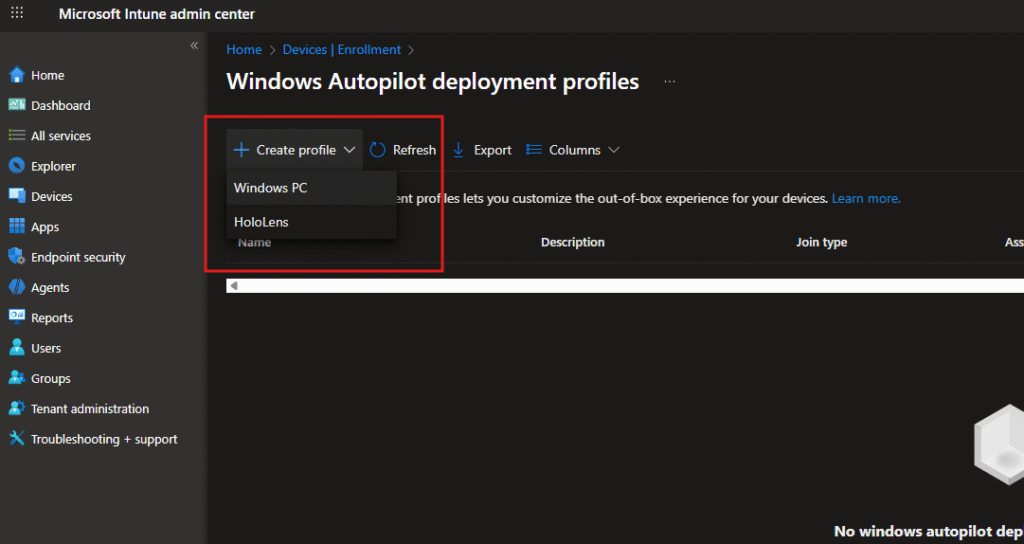
- Sign in to the Microsoft Intune admin center (https://intune.microsoft.com)
- Navigate to Devices > Enrollment > Windows Autopilot deployment profiles
- Click Create profile and select:
- Windows PC (for standard Windows devices)
Step 2: Configure Basic Profile Settings
On the Basics tab:
- Name: Enter a descriptive name (e.g., “Pre-Provisioned Autopilot”)
- Description: Add optional details about the profile’s purpose
- Convert all targeted devices to Autopilot:
- Set to No (default) – Only applies to devices already registered in Autopilot
- Set to Yes – Automatically registers Entra ID joined devices assigned this profile

Step 3: Configure Out-of-Box Experience (OOBE) Settings
This is where you define the critical Pre-Provisioning settings:
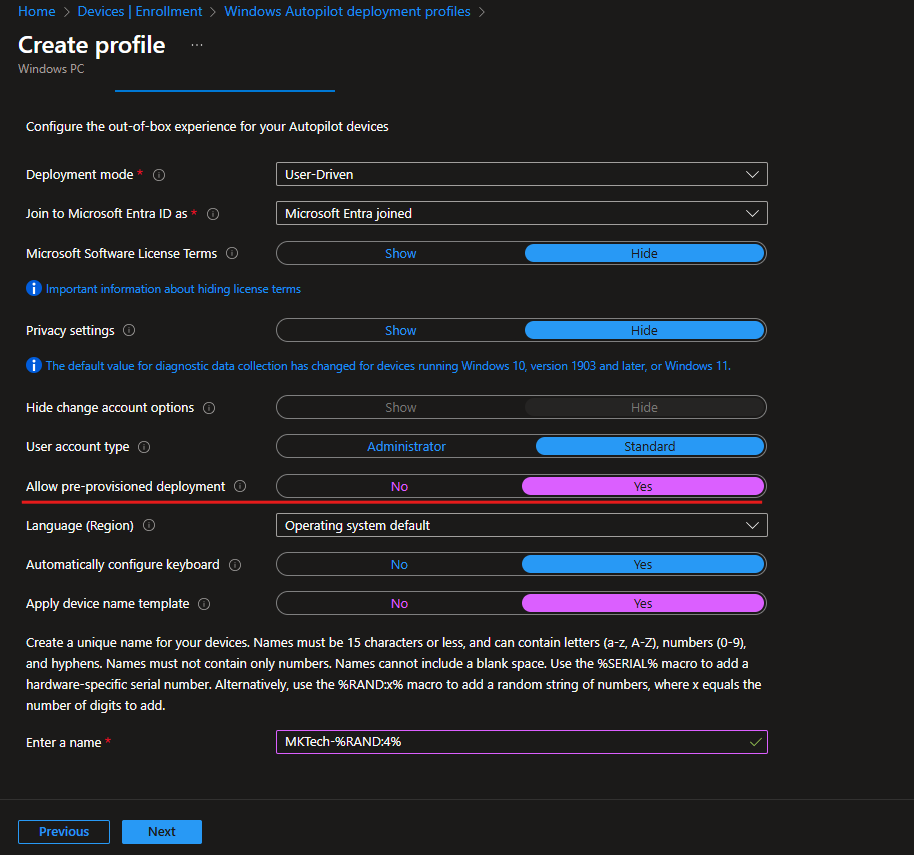
Deployment Mode
- Select User-Driven
Join to Microsoft Entra ID as
- Select Microsoft Entra joined (for cloud-native environments)
- Alternative: Microsoft Entra hybrid joined (if you need on-premises Active Directory integration)
Microsoft Software License Terms
- Hide – Recommended to streamline the experience
Privacy Settings
- Hide – Recommended to reduce setup steps
Hide change account options
- Show or Hide based on your security requirements
User account type
- Administrator – Grants local admin rights to the user
- Standard – Recommended for most users following least-privilege principles
Allow pre-provisioned deployment
- Yes – This is the critical setting that enables the technician phase
Language (Region)
- Select Operating system default or choose a specific language
Automatically configure keyboard
- Yes – Recommended to streamline setup
Apply device name template
- Yes – Allows you to define a naming convention
- Enter a name: Use variables like
MKTech-%RAND:4%to create unique names%SERIAL%– Device serial number%RAND:x%– Random alphanumeric string (x = number of characters)
The template shown uses MKTech-%RAND:4% which will generate names like “MKTech-A7D2”.
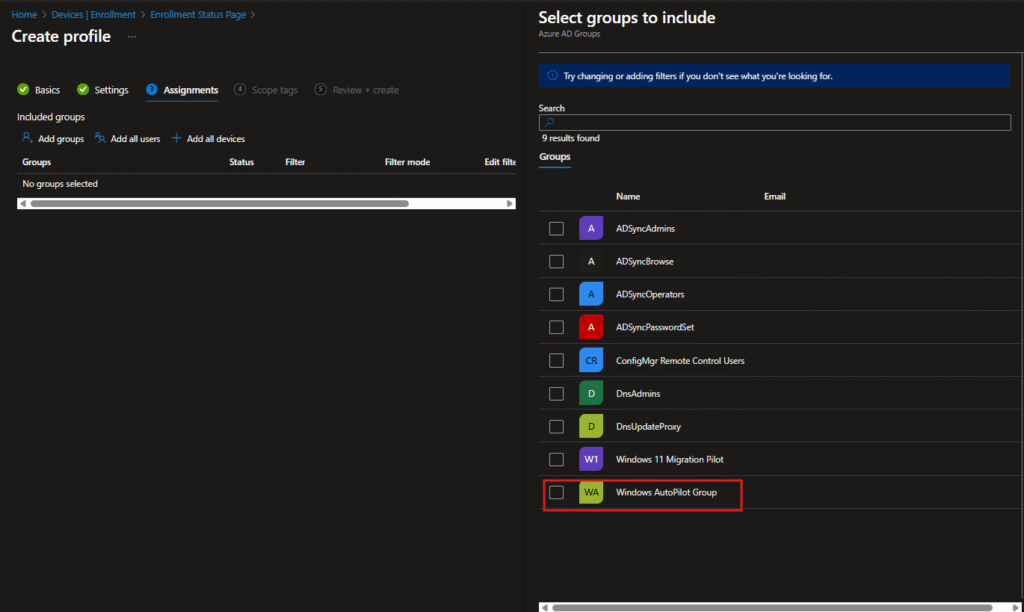
Step 4: Assign the Profile to Groups
On the Assignments tab:
- Click Add groups under Included groups
- Search for and select your target group (e.g., “Windows AutoPilot Group”)
- Click Select

You can also exclude specific groups if needed. Once assignments are configured, click Next.
Step 5: Create an Enrollment Status Page (ESP) Profile
The Enrollment Status Page shows application and policy installation progress during setup. For Pre-Provisioned Autopilot, you’ll want to create a custom ESP that displays during both the technician and user phases.
- Navigate to Devices > Enrollment > Enrollment Status Page
- Click Create profile

Step 6: Configure ESP Basic Settings
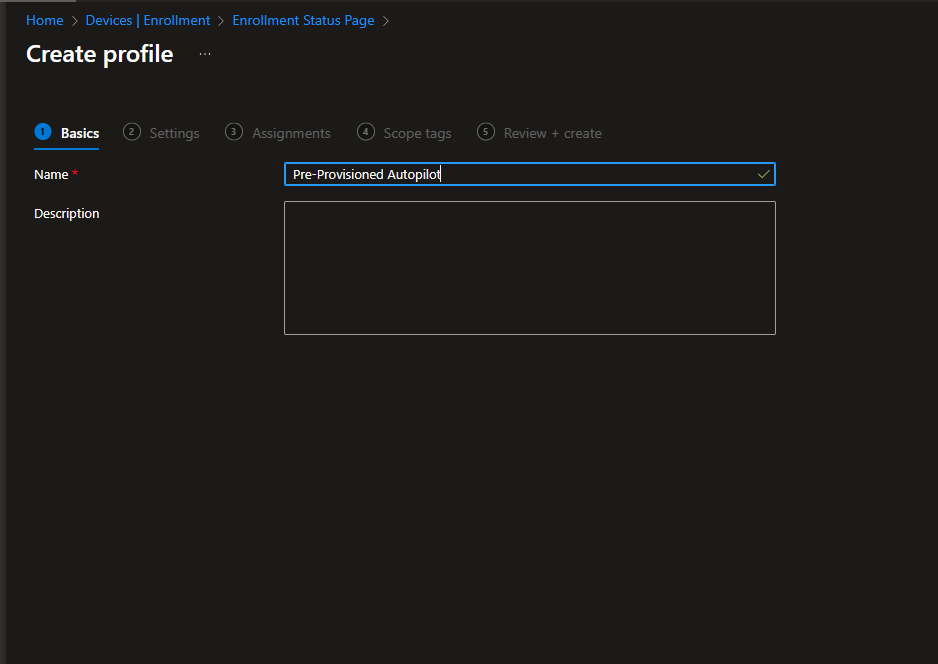
On the Basics tab:
- Name: Enter a descriptive name (e.g., “Pre-Provisioned Autopilot ESP”)
- Description: Add optional details
Step 7: Configure ESP Settings
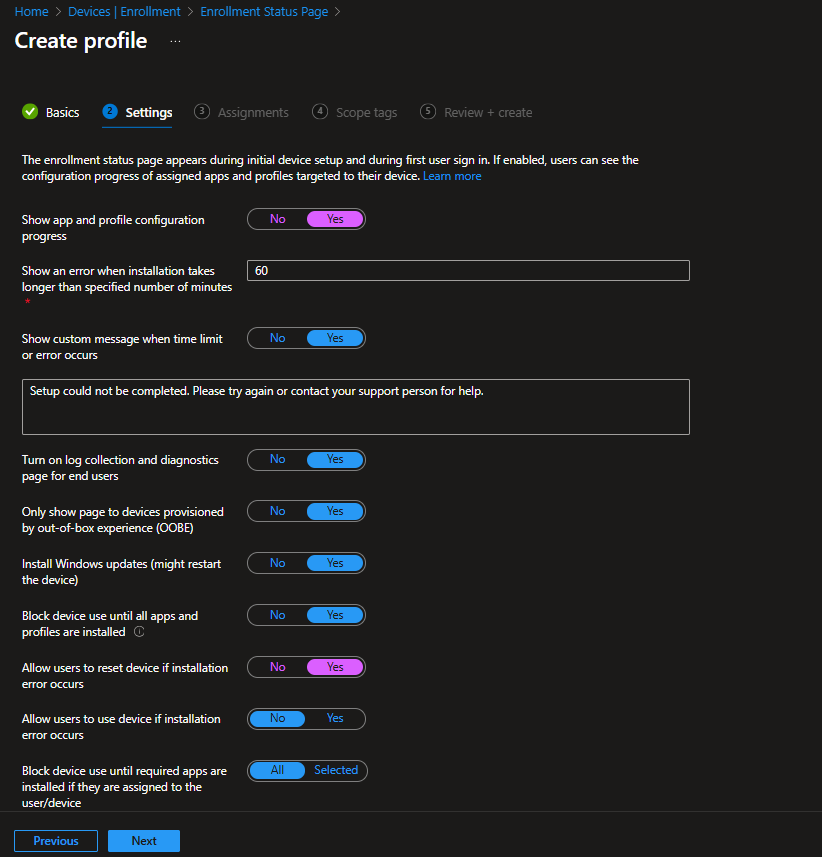
Configure how the Enrollment Status Page behaves:
Show app and profile configuration progress
- Yes – Displays real-time installation progress to users
Show an error when installation takes longer than specified number of minutes
- Enter a timeout value (default: 60 minutes)
- If installation exceeds this time, an error message appears
Show custom message when time limit or error occurs
- Yes – Allows you to provide a custom support message
- Enter text like: “Setup could not be completed. Please try again or contact your support person for help.”
Turn on log collection and diagnostics page for end users
- Yes – Recommended for troubleshooting
Only show page to devices provisioned by out-of-box experience (OOBE)
- Yes – Ensures ESP only appears during initial setup, not during provisioning from Out-of-Box Experience
Install Windows updates (might restart the device)
- Yes – Recommended to ensure devices are current (note: may extend provisioning time)
Block device use until all apps and profiles are installed
- Yes – Recommended to ensure complete configuration before user access
Allow users to reset device if installation error occurs
- Yes – Allows users to restart the setup process if issues occur
Allow users to use device if installation error occurs
- No – Recommended to prevent incomplete configurations
Block device use until required apps are installed if they are assigned to the user/device
- All – Ensures all required apps install before allowing access
- Alternative: Selected – Specify specific apps that must install
Click Next.
Step 8: Assign the ESP Profile
On the Assignments tab:
- Click Add groups under Included groups
- Select the same group you used for the deployment profile (e.g., “Windows AutoPilot Group”)
- Click Select
Review your settings and click Create to save the ESP profile.
Step 9: Perform Pre-Provisioning – Technician Phase
Now comes the actual pre-provisioning process that will be performed by IT technicians, OEM partners, or resellers:
Starting the Technician Flow
- Power on the device and connect it to the internet (wired connection recommended).
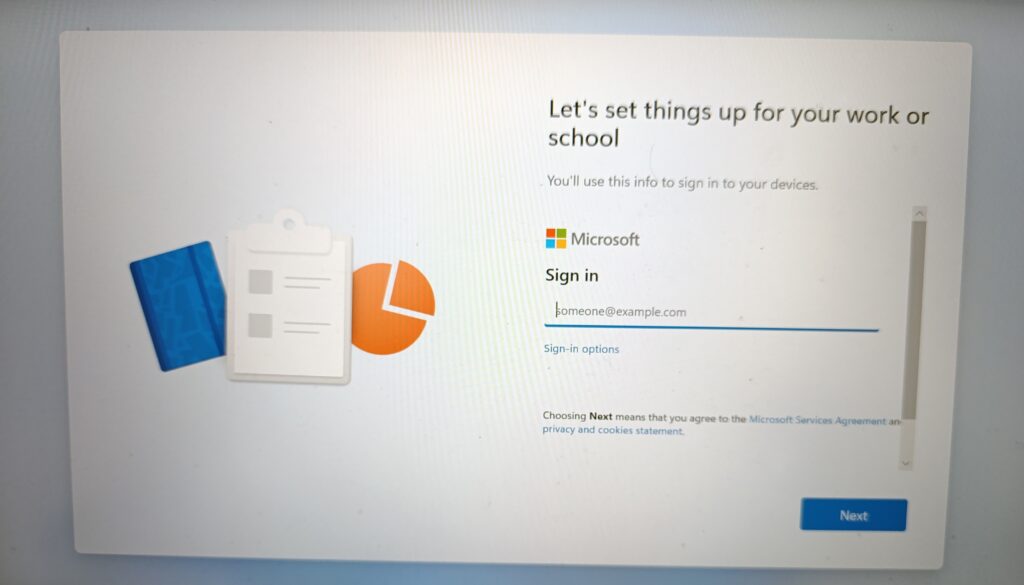
- Go through the initial OOBE screens (Region, Keyboard, Network).
- When you reach the Microsoft Entra sign-in page (“Let’s set things up for work or school”), do not sign in.
- Press the Windows key five times.
- Select Pre-provision with Windows Autopilot (Windows 11) or Windows Autopilot provisioning (Windows 10).
- Click Continue to start the Technician phase.
Technician Phase Provisioning
7. The Enrollment Status Page (ESP) appears and shows progress across two phases:
- Wait for the provisioning to complete (typically 20-40 minutes depending on your configuration):
- Device configuration policies apply
- Device-targeted applications install
- User-targeted applications in device context install (if a user is assigned)
- Certificates and profiles deploy
- Once provisioning completes successfully, a status screen appears showing:
- Success message
- Organization information
- Elapsed provisioning time
- Device details
Windows 11 24H2/25H2 and Later: Automatic Transition
For devices running Windows 11 version 24H2 or later (including 25H2), the device will automatically restart when technician provisioning completes. The technician does not need to click “Reseal” or perform any manual action.
The device automatically shuts down and is ready to be delivered to the end user.
Windows 11 23H2 and Earlier: Manual Reseal
For older Windows versions:
- When technician provisioning completes, click the Reseal button
- The device shuts down automatically
- The device is now ready to be packaged and delivered to the end user
Important: After resealing, do not turn the device back on. Deliver it directly to the end user who will complete the user phase.

Step 10: End User Experience – User Phase
When the end user receives the device, they complete the final provisioning phase:
User Flow Process
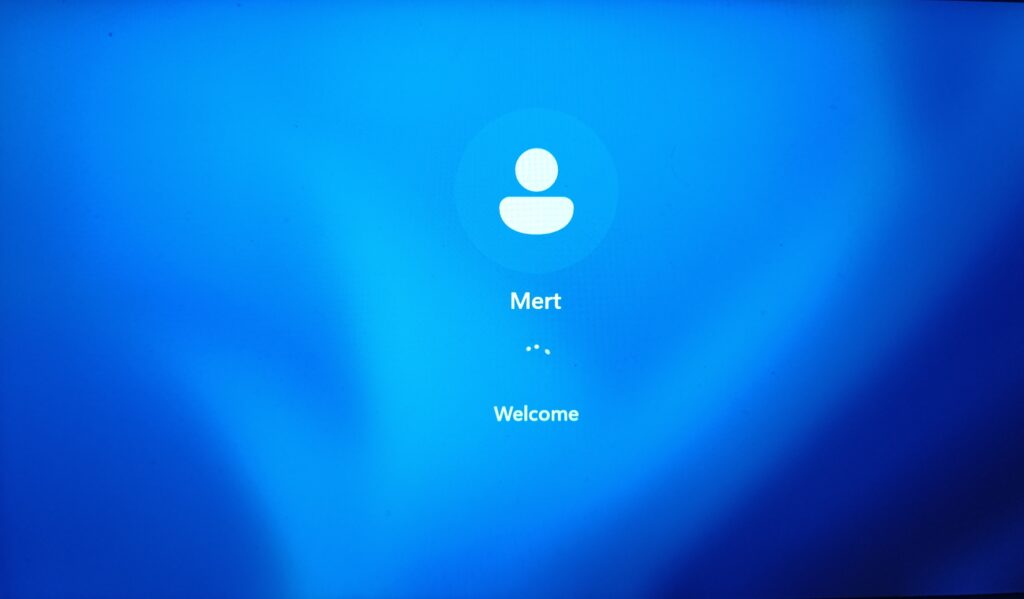
- Power on the device (if available, connect to a wired network for better performance)
- The device boots and may apply critical security updates (if applicable)
- The device displays the sign-in screen: “Let’s set things up for your work or school”
- User enters their credentials (email and password)
- Complete any multi-factor authentication (MFA) if required
- The Enrollment Status Page (ESP) appears again and shows:
- Device setup: Re-runs to check for new policies/applications assigned since technician phase
- Account setup: User-targeted applications and policies install
- This user phase typically completes in 5-10 minutes (much faster than a full Autopilot deployment)
- User may be prompted to set up Windows Hello PIN (if configured in your policies)
- Complete the PIN setup

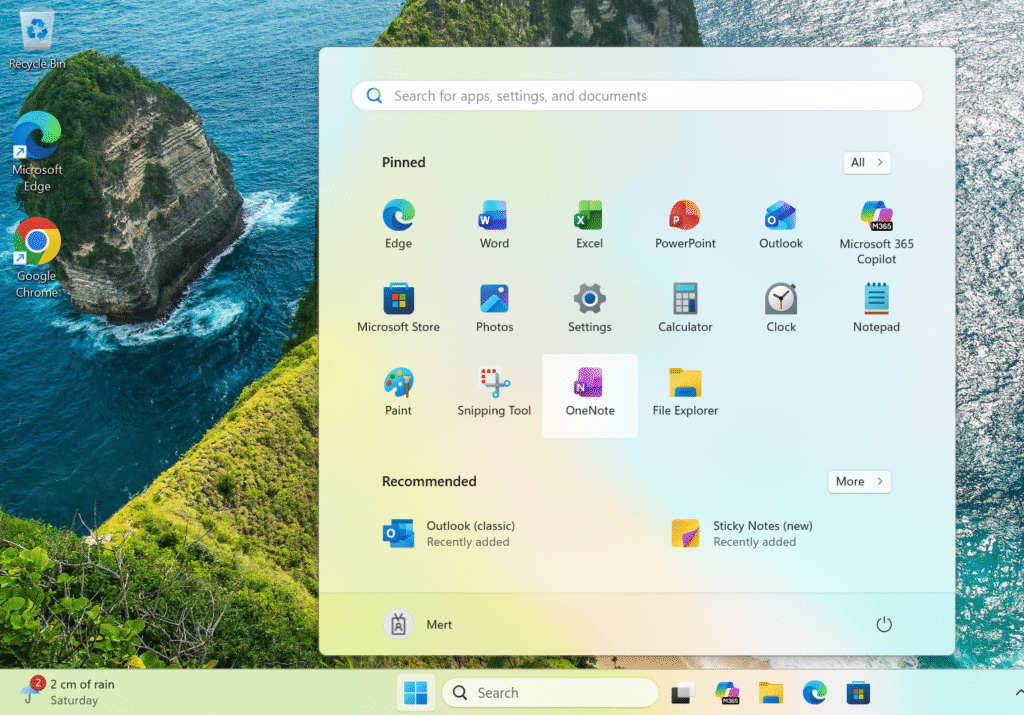
- User reaches the desktop with a fully configured device
- All required applications finish installing in the background
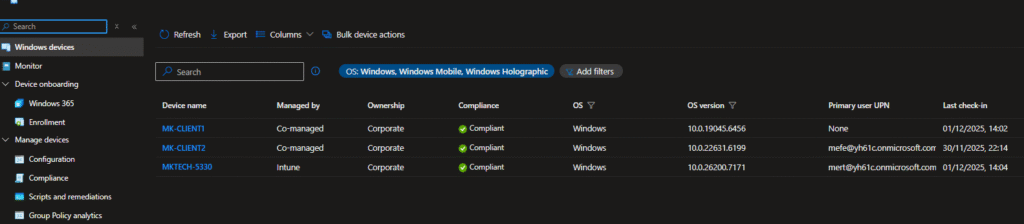
Step 11: Verify Device in Intune Portal
After the user completes the setup, verify the device in the Intune portal:
- Navigate to Devices > Windows devices
- Locate your device in the list
- Verify:
- Device appears with correct name (e.g., “MKTECH-5330”)
- Managed by: Intune or Co-managed
- Ownership: Corporate
- Compliance status: Compliant
- Primary user UPN: Shows the assigned user
- Last check-in: Recent timestamp
The device is now fully deployed and ready for production use!
Conclusion
Pre-Provisioned Autopilot strikes an excellent balance between IT control and user experience. By pre-configuring devices in a technician phase, you ensure users receive fully functional devices with minimal setup time, while maintaining the cloud-native benefits of Windows Autopilot.
Whether you’re deploying dozens or thousands of devices, following this guide will help you implement a reliable, repeatable Pre-Provisioned Autopilot process that delights end users and simplifies IT operations.
Next in my Autopilot series: Self-Deploying Mode.Stay tuned!You can read my previous post here: How to Configure Intune User-Driven Autopilot: The Complete Guide